
Creating A Blendshape Facial Rig in Maya 03 Creating the BlendShape
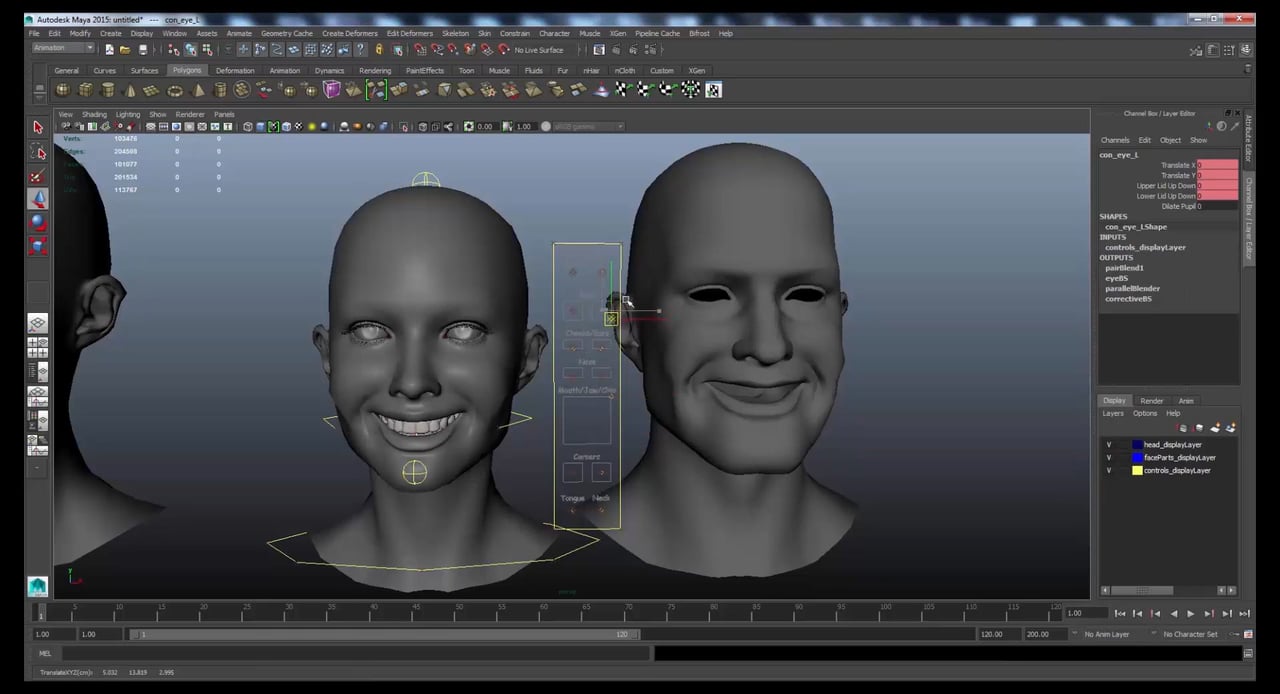
Corrective shapes are blend shapes that you create in order to fix problems with the deformation on the base object. This is often a method used on a character's skin to fix specific deformation problems that you find when the character is animated.

Maya set driven key blendshape tutorial Maya YouTube
blendShape node paintTargetWeights sculptInbetweenWeight sculptTargetTweaks The array of inbetween target group Use local vertex frame instead of the maya tangents for tangent space target. Parent directory of the target symmetryEdge TmultiSharedObject::create
Adding corrective Blendshape targets copying and pasting vertex
You can import or export blend shapes in shape (*.shp) files using the Shape Editor. This makes it easy to transfer blend shapes between objects, such as the same object that is used in several different scene files across a pipeline.
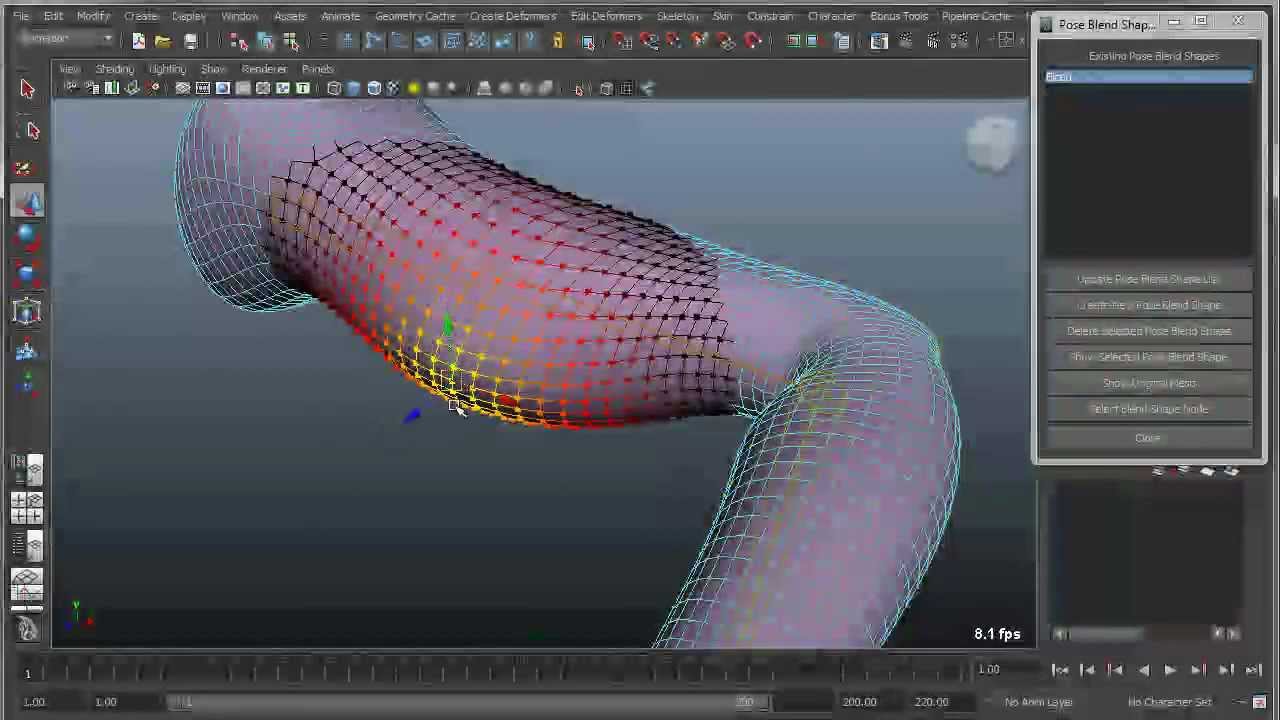
Maya BonusTools 2013 Pose BlendShape Editor YouTube
This video shows how to connect a blendshape via: set driven key, connection editor, nodes and expressions to a controller in Autodesk Maya. Hope is useful, thanks for watching, and please.
Maya BlendShape Tips and Tricks YouTube
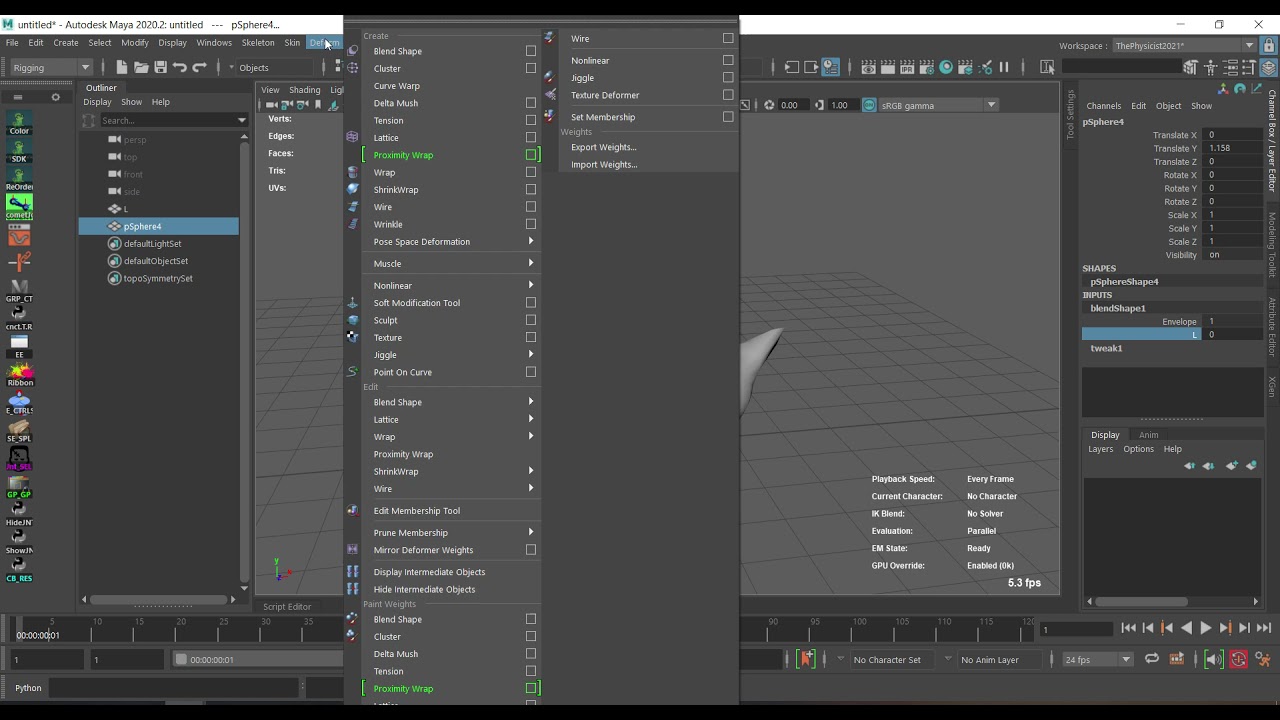
Maya positions the BlendShape node so that it's evaluated Blend shape deformers are often used to create deformation effects on a skinned character, so assures that the effects from blend shape deformation occur before those caused by the skin. For more information on doing this, see Create pre-skinning corrective shapes
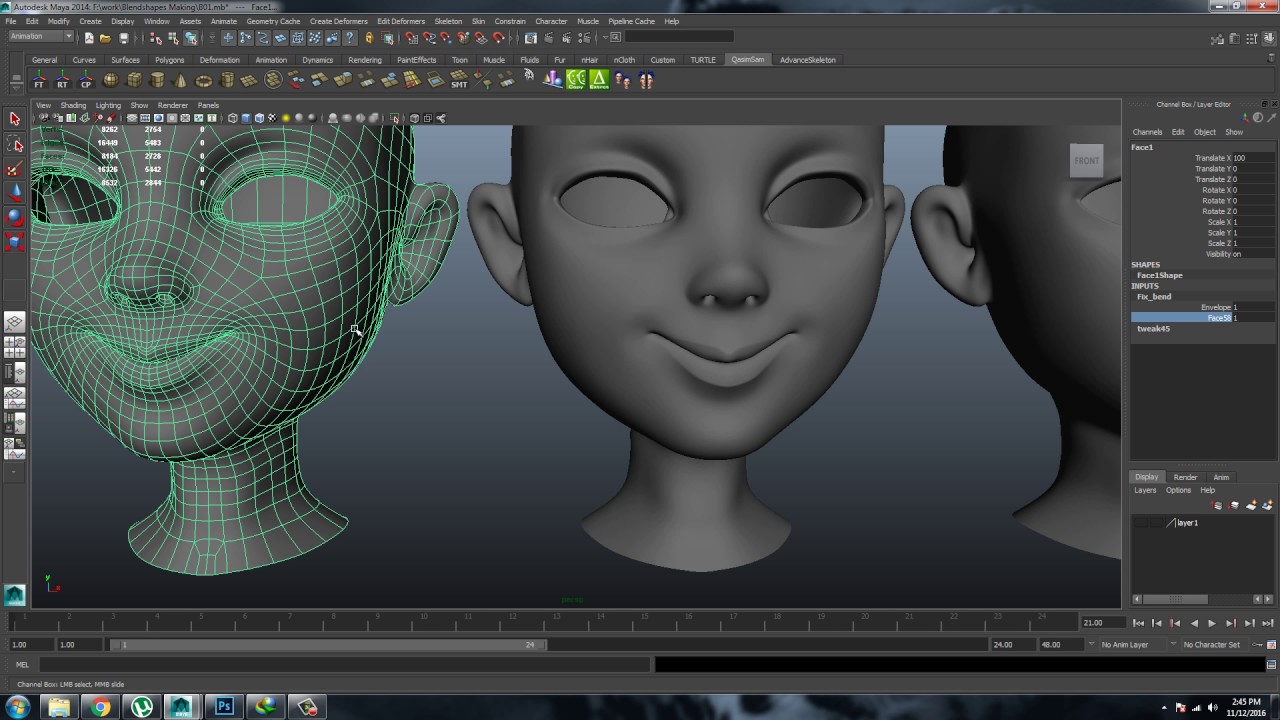
Autodesk Maya Blendshapes Making part 01 YouTube
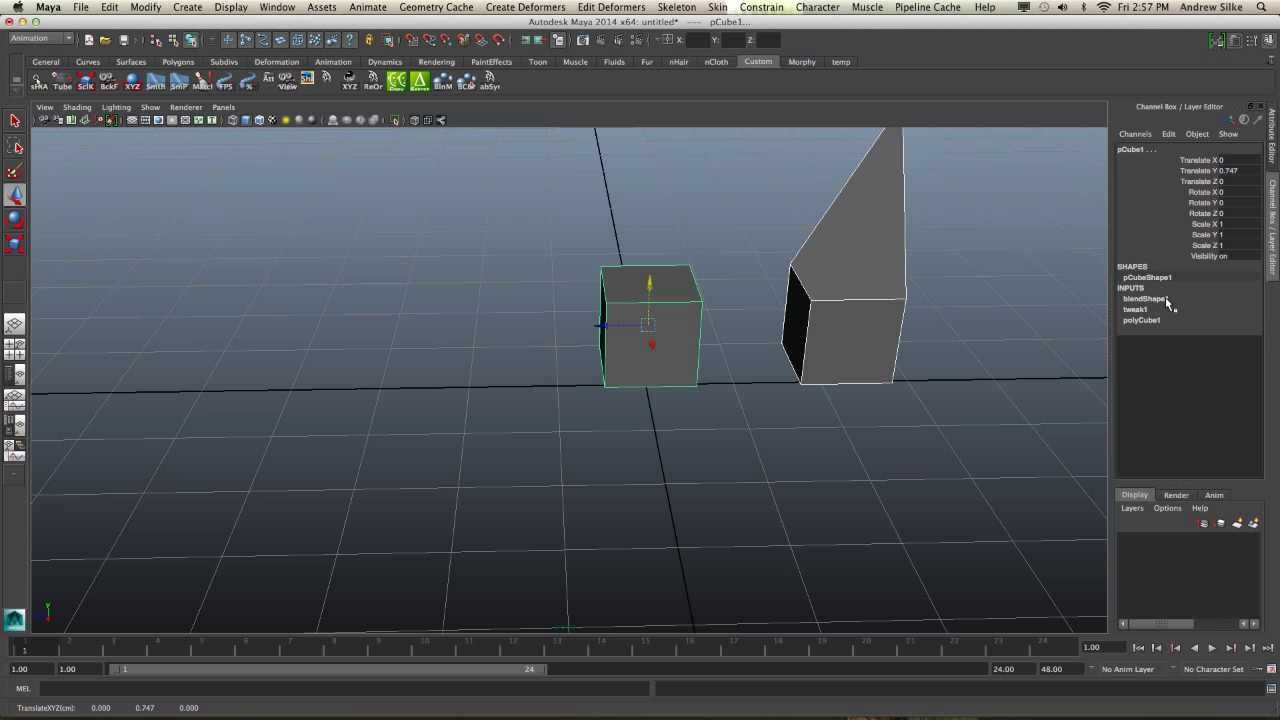
blendShape is undoable, queryable, and editable. This command creates a blendShape deformer, which blends in specified amounts of each target shape to the initial base shape. Each base shape is deformed by its own set of target shapes. Every target shape has an index that associates it with one of the shape weight values.
Blendshape Basics Maya YouTube
Scripting in Maya; Quick Help : BlendShape Tools (Mel) Ashik Mathew 17 subscribers Subscribe Subscribed 6 Share Save 149 views 4 months ago This is just a video about a tool i made completely.

Maya Blendshape Input Node Order YouTube
Mirror Blendshapes 1.0.1 for Maya (maya script) Script to mirror blend shapes. Details Reviews (0) Support Forum (1) Bugs (2) Feature Requests (0) (MIT License) 2,850 Downloads Compatibility 2012, 2011 Seamus O'Hearn Shop: (8 Products) Operating Systems History Keywords maya, faster, seamus, modeling, set, Rigging Social Actions Save Share Favorite
Auto Map BlendShape Attributes to SetDrivenKeys YouTube
Blends the base object shape to the target object shape (s) while ignoring differences in position, rotation, and scale between the target shape (s). Specifies that two special attributes, baseOrigin and targetOrigin, provide origin information. For more information on these attributes, see the online .
maya tutorial transfer blendshape by uv on Vimeo
Python examples import maya.cmds as cmds # # Perform a blendShape using the currently-selected objects. # The lead (last-selected) object will be the base shape, and each # of the others become targets. # cmds.blendShape() # # Create a blendShape that starts with curve3 as the base, and blends # in curve1 and curve2 as targets.
Blendshape with Zbrush to Maya plugin (beginner tutorial) YouTube
Using linux or Maya 2022+ on windows this can be done via a simple pip install. For older windows versions a custom version will have to be compiled against the correct VS version. Example images are generated using the MetaHuman exports for the source/target base and source jaw open shape. Target jaw open is generated using the tool.
[Tutorial] Maya Mirror a Blendshape in a second (No Wrap, No Script
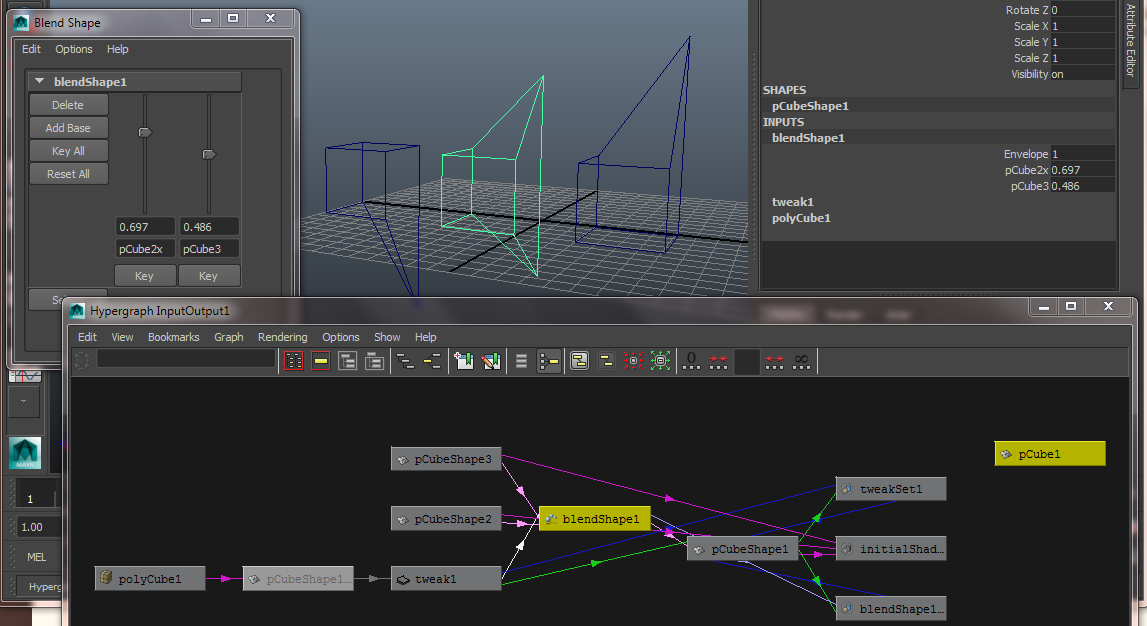
The blendShape node is the actual blend shape deformer algorithm itself, and acts as a kind of "container" for all target shapes that are created in it. This node calculates the influence of each target shape, and then interpolates those values to come up with the blend shape that deforms the base object.
CSCE 450 Assignment 3
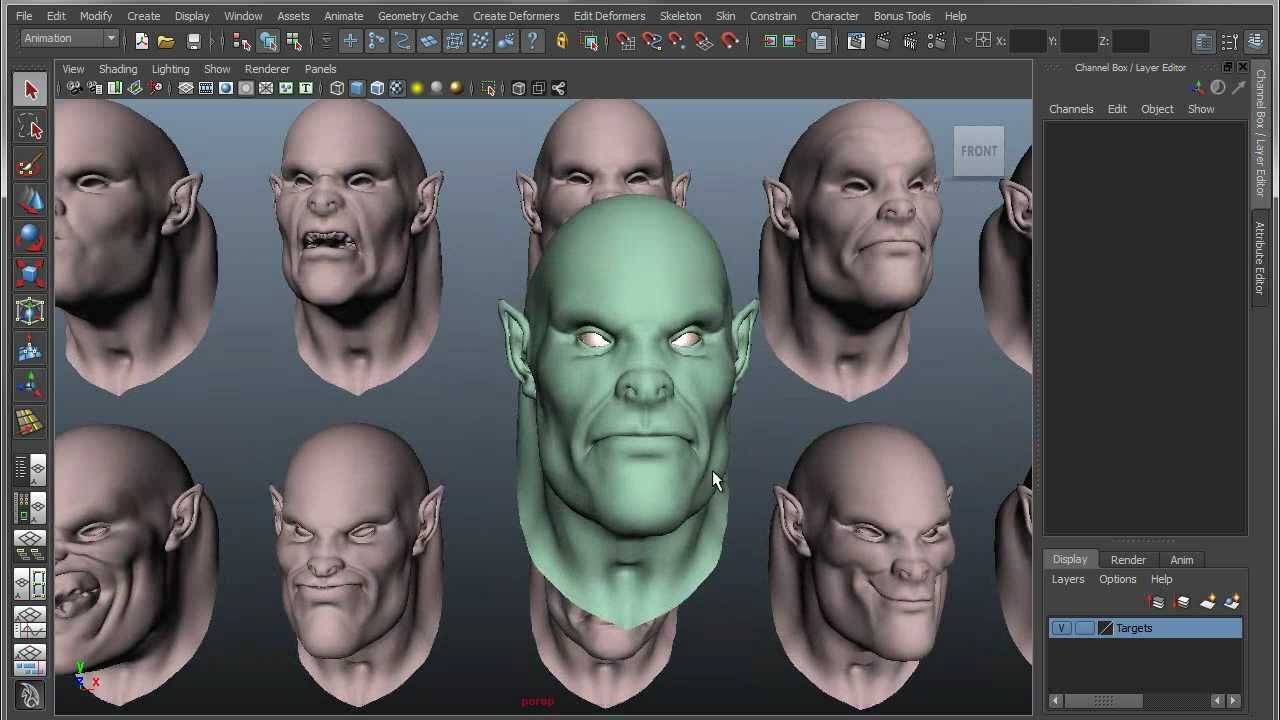
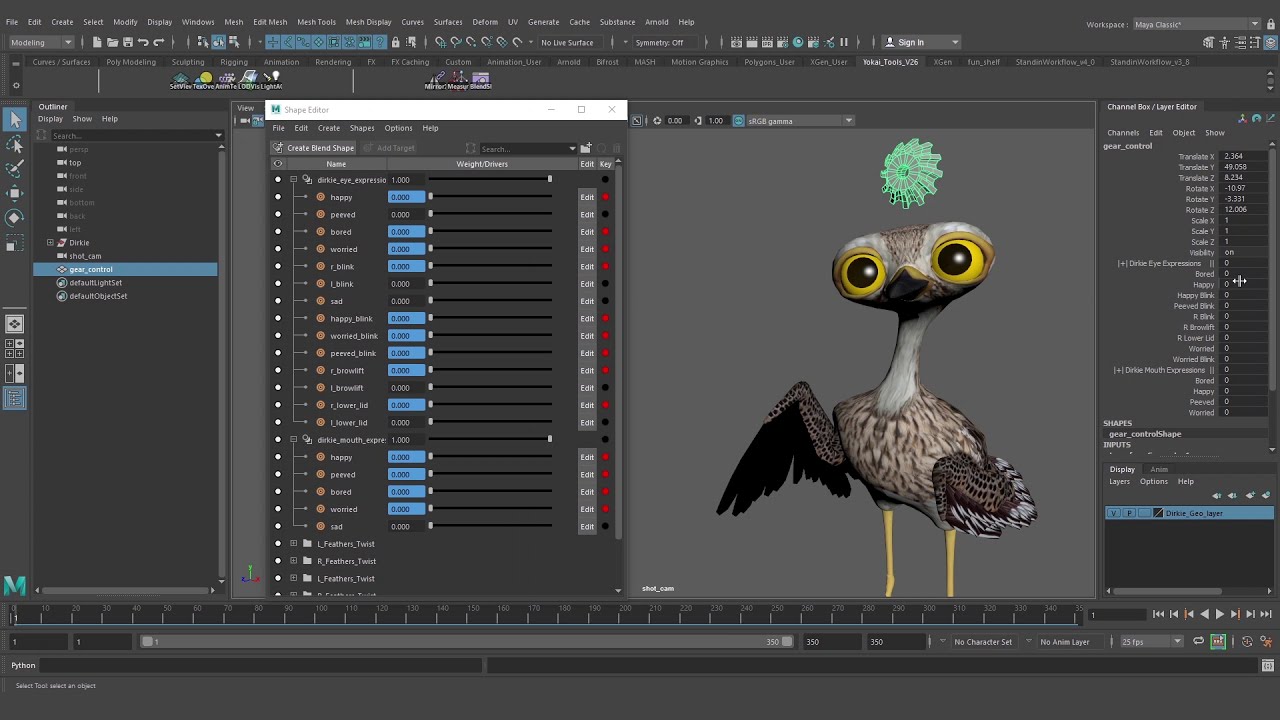
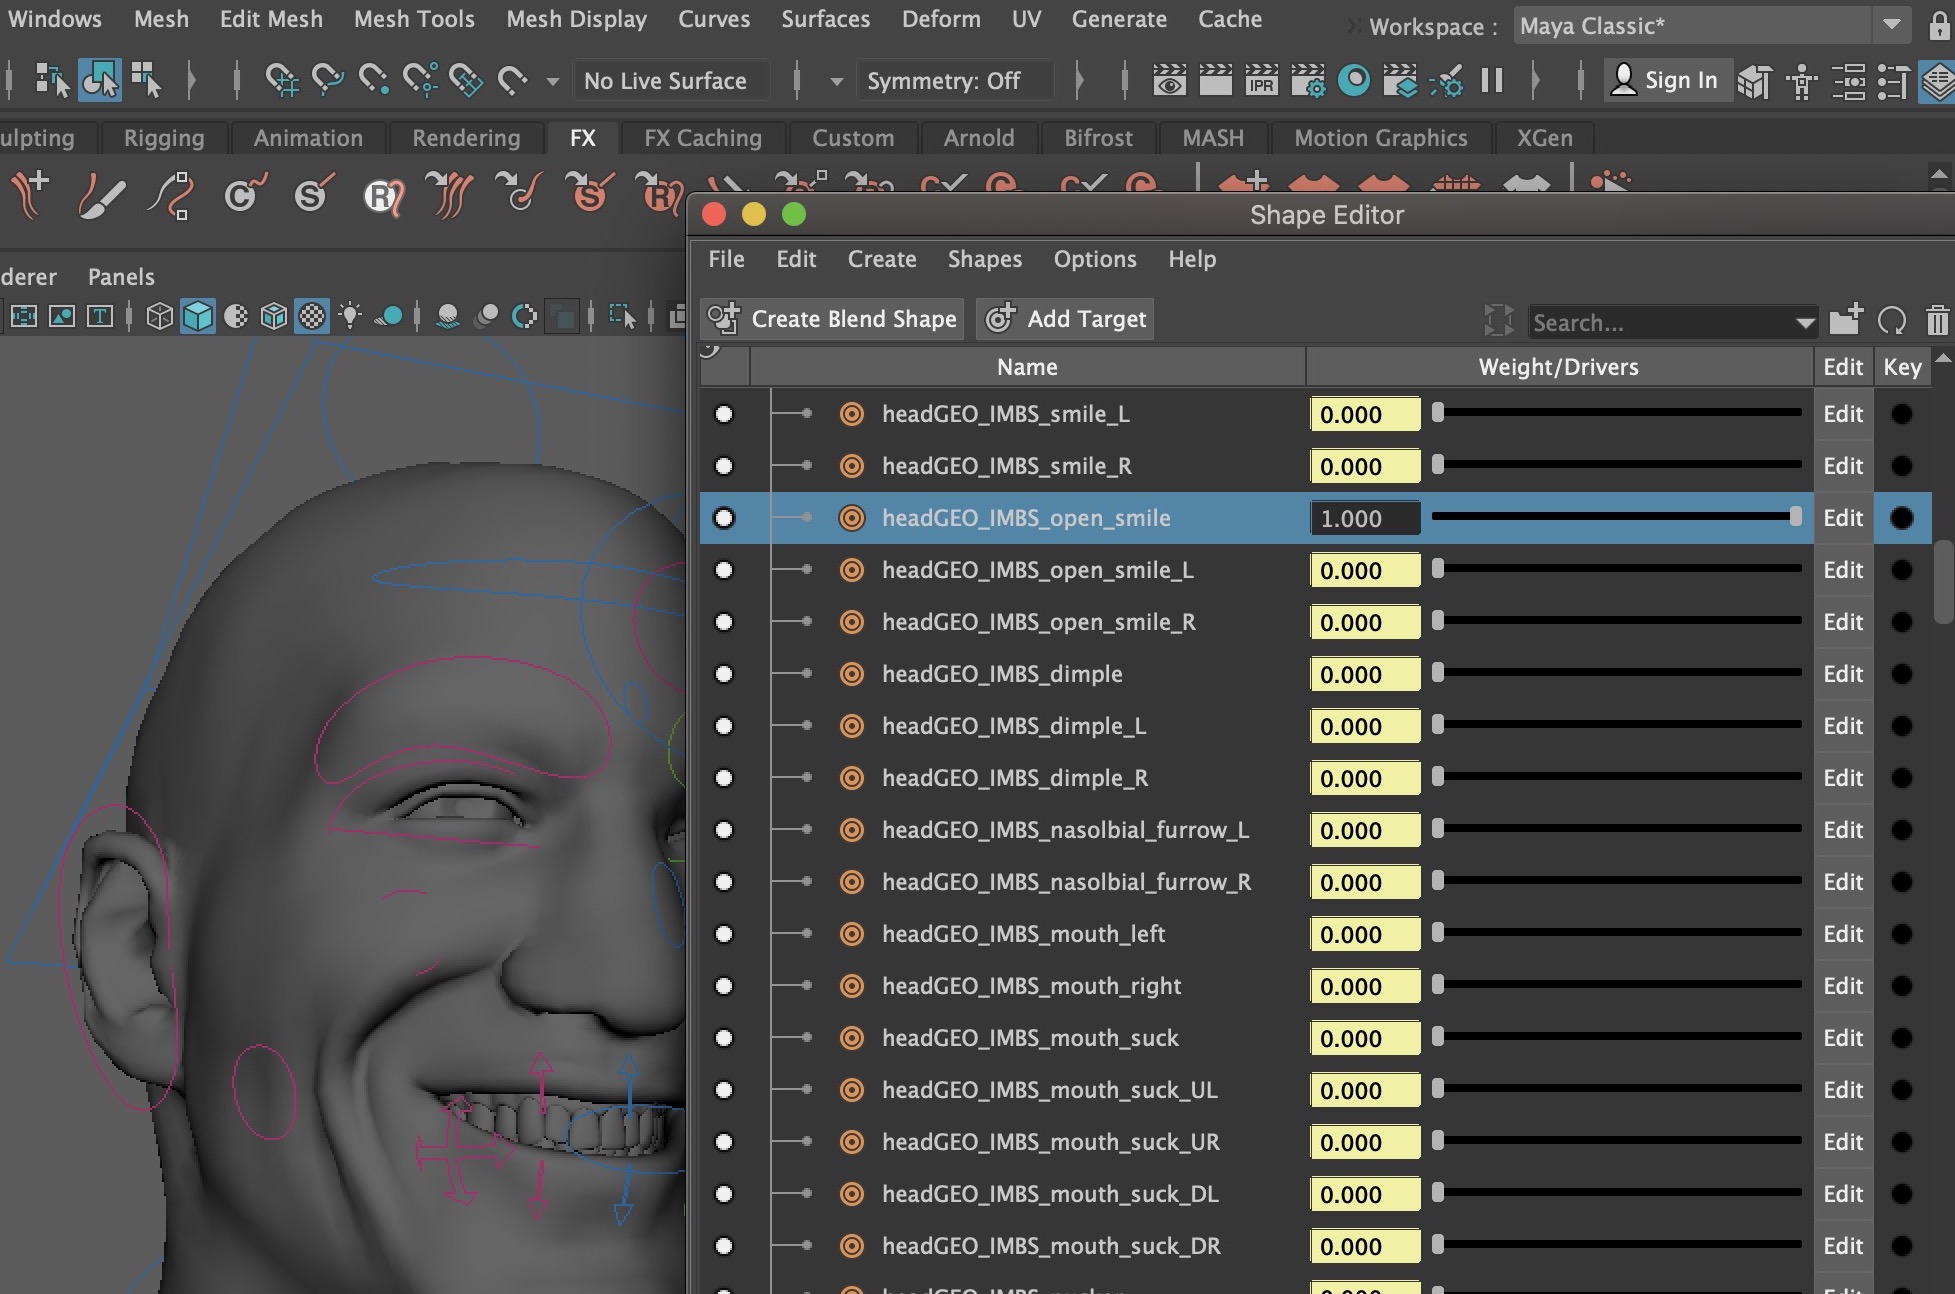
01. Create your first target shape. The Shape Editor can be found on the sculpting shelf. When you first open it, Maya will automatically scan the scene for any existing blend shape nodes and fill the window for you. If none exist all you need to do is select the head model and then click Create Blend Shape.
Blendshape at maya
Maya's blendShape node got a big revamp in Maya 2016 Extension 2 with the introduction of the Shape Editor. It's not necessary anymore to keep external target shape meshes and to mirror, flip or manage them manually. These are some code snippets that help me manage the new blendShape workflow (last updated for Maya 2018). Included are:
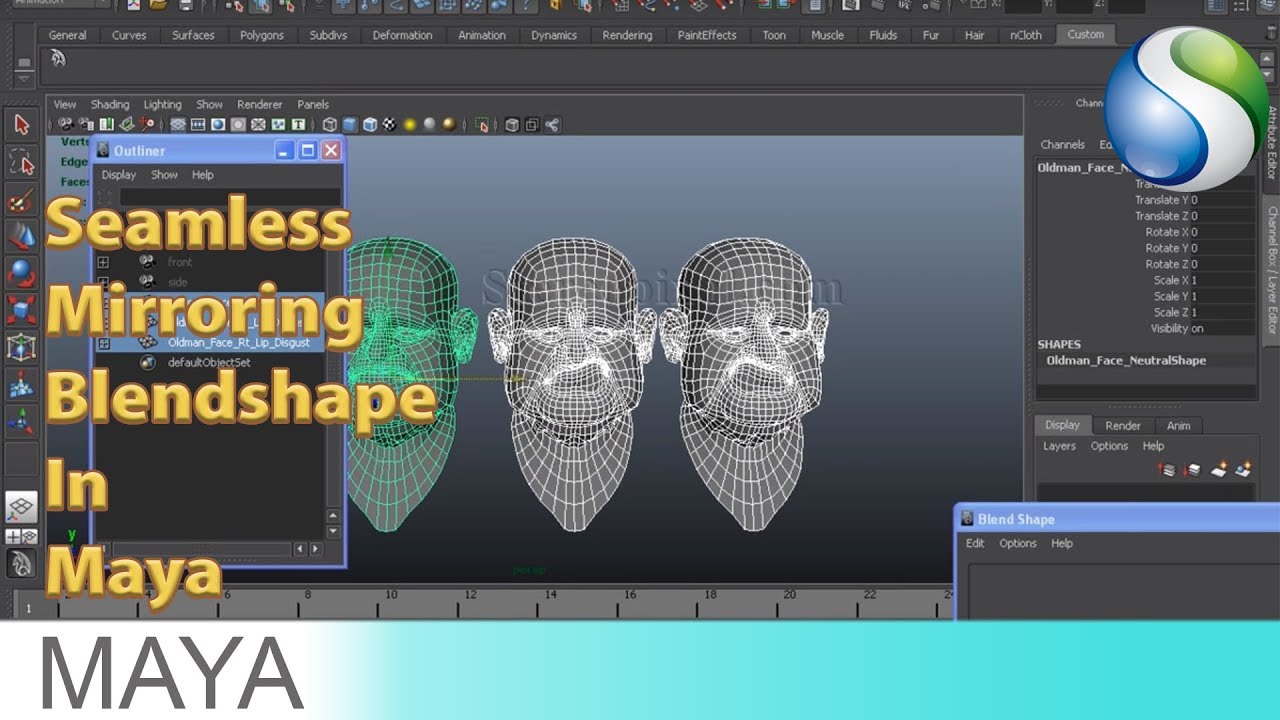
Seamless Mirroring Blendshape In Autodesk Maya YouTube
import maya.cmds as cmds # # Perform a blendShape using the currently-selected objects. # The lead (last-selected) object will be the base shape, and each # of the others become targets. # cmds.blendShape() # # Create a blendShape that starts with curve3 as the base, and blends # in curve1 and curve2 as targets.

Blendshape in Maya quick tutorial YouTube
In the Animation, Rigging and Modeling menu sets: Deform > (Edit) Blend Shape > Swap > This command lets you change the order of the target objects as they're applied to the base object which has a blend shape deformer. See Swap the order of target objects for more information. Specify Node If the base object shape you selected is influenced by only one blend shape deformer, you don't need.
